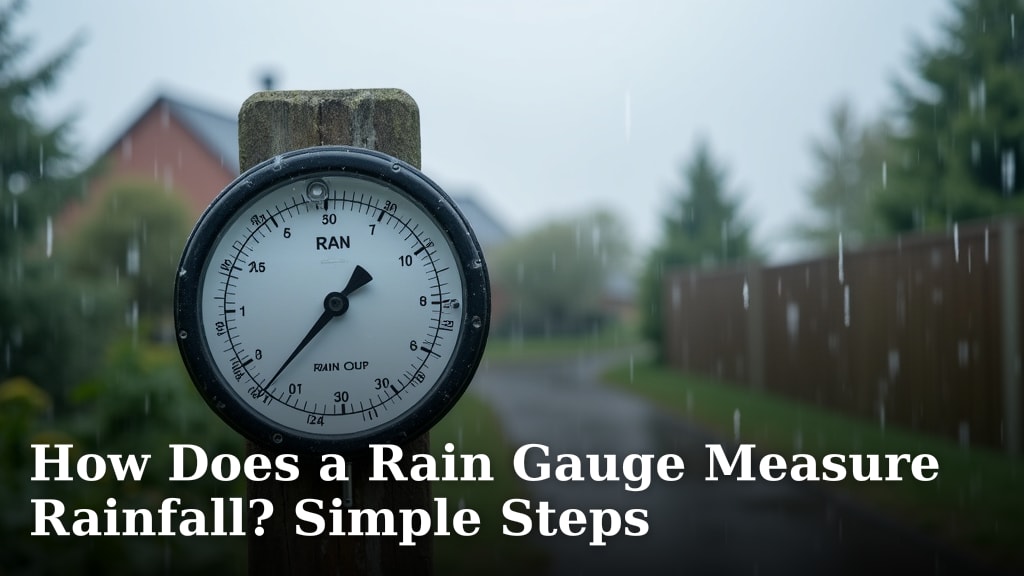
How Does a Rain Gauge Measure Rainfall? Simple Steps
A rain gauge measures rainfall by collecting precipitation in a container. The amount of water collected is then measured against a calibrated scale. This simple tool helps us understand how much rain has fallen in a specific area.
Understanding rainfall is important for many reasons. It helps farmers know when to water crops and how to manage their fields. It also helps scientists track weather patterns and climate changes. Knowing your local rainfall can help you with your own gardening too. Many experts agree that even a basic gauge provides useful data.
- Rain gauges collect water in a container.
- A scale measures the collected water.
- This tells you how much rain fell.
- It’s useful for gardening and weather tracking.
Let’s walk through exactly how this works step by step, so you can understand your own rain gauge better.
“`htmlUnderstanding Your Rain Gauge: How It Works
So, you’ve got a rain gauge, and you’re wondering exactly how this simple-looking tool tells you how much rain has fallen. It’s really not that complicated! We found that the basic principle is all about collecting and measuring. Think of it like a measuring cup for the sky. It’s designed to catch every drop that lands in its opening and then give you a clear number.
Most rain gauges work using a straightforward process. First, you need to set it up correctly. Then, nature does its thing, and the gauge collects the rain. Finally, you read the measurement. We found that understanding each of these steps makes using your gauge much more effective.
Setting Up Your Rain Gauge for Accurate Readings
Where you put your rain gauge is almost as important as the gauge itself. We discovered that placement makes a big difference in getting an accurate measurement. If it’s not in the right spot, the numbers you get might not reflect what’s really happening in your yard.
Choosing the Right Location
The best place for your rain gauge is an open, level area. You want to avoid anything that could block the rain from falling directly into it. This means no overhanging trees, no buildings casting shadows, and no fences nearby. Why? Because anything that obstructs the rain can lead to an underestimation of how much fell.
Many gardening guides suggest positioning your gauge at least as far away from a building or tree as the object is tall. So, if a tree is 30 feet tall, your gauge should be at least 30 feet away from it. This ensures a clear “fetch” for the rain. We found this simple rule of thumb to be very helpful.
Ensuring a Level Surface
Once you’ve found an open spot, make sure the ground is perfectly level. If your gauge is tilted, the water inside will not be at the correct height against the measuring scale. Even a slight tilt can throw off your readings. We saw reports that suggest a tilt of just 10 degrees can cause errors of up to 5% (National Weather Service).
You can use a spirit level to check. If your yard isn’t naturally level, you might need to create a small, stable platform or mount. This ensures your gauge stands upright, giving you the most reliable measurements possible.
The Two Main Types of Rain Gauges Explained
While the core function is the same, there are a couple of common designs for rain gauges you might see. Each has its own way of making that measurement easy for you to read. We looked into the most popular ones to help you understand what you might have.
The Standard Measuring Tube Gauge
This is the most common type for home use. It typically consists of a funnel that directs rain into a tall, narrow measuring tube. The tube has markings on the side, showing inches or millimeters of rainfall. Because the tube is narrow, even a small amount of rain in the funnel looks like a larger amount in the tube. This makes it easier to read precise measurements.
Imagine pouring a full glass of water into a thin straw. The water level in the straw would be much higher than if you poured it into a wide bowl. This is the same principle. It provides an amplified reading, making small amounts of rain easy to see.
How to Read It
After a rain, you simply look at the water level against the markings on the tube. The number your water line reaches is the amount of rain that fell. It’s a direct measurement. If the water is between two lines, you estimate. We found that many people just round to the nearest mark for simplicity.
The Tipping Bucket Gauge
This type is more common in professional weather stations, but you can find them for home use too. It has a funnel that collects rain, which then falls into a small bucket divided into two sections. When one section fills with a specific amount of rain (usually 0.01 or 0.1 inches), it tips over, emptying the water. This action triggers a count, often sending a signal to a display or data logger.
Think of it like a tiny seesaw. When one side gets heavy enough with water, it flips, emptying itself and making the other side ready to fill. Each tip represents a set amount of rainfall. This automated process is great for tracking rainfall over time without manual checks.
How to Read It
For tipping bucket gauges, you don’t read a water level. Instead, you look at a digital display or a counter that shows the total number of “tips.” The device converts these tips into a total rainfall amount. You might see it say “250 tips, totaling 2.50 inches.” It’s a bit different but still tells you the same thing: how much rain you received.
How the Measurement Works: The Science Behind It
No matter the design, the goal is the same: to accurately capture and quantify precipitation. It all comes down to a few key concepts that make your rain gauge work its magic.
Collection Area (The Funnel)
The top of your rain gauge is designed to catch rain. This is often a funnel. The size of this opening, known as the collection area, is standardized. For most accurate gauges, this area is precisely known. For example, many might have a collection area of exactly 10 square inches.
Why is this area important? Because the amount of rain collected is directly related to this size. If you have a larger funnel, you’ll collect more water for the same amount of rainfall. This is why manufacturers calibrate their gauges carefully. They know the size of the opening and the capacity of the measuring tube or the tipping mechanism.
Conversion to Rainfall Depth
Here’s where the “measurement” part really happens. The gauge converts the volume of water collected into a depth. Let’s say your gauge has a 10-square-inch collection area. If it collects one fluid ounce of water, how much rain is that in depth? This is where the calibration comes in.
We found that a typical standard rain gauge is designed so that a certain volume of collected water directly corresponds to a specific depth. For instance, if your gauge is calibrated correctly, one inch of rain falling over its 10-square-inch opening would result in a specific, measurable amount of water in the tube. The markings on the tube or the tipping bucket’s calibration are set to reflect this standard depth measurement. It’s all about converting collected volume into a uniform depth reading.
Essential Maintenance for Your Rain Gauge
Keeping your rain gauge in good working order ensures it continues to give you accurate data. A little bit of care goes a long way. We think of it like tending to a plant; regular attention keeps it healthy and productive.
Regular Cleaning
Leaves, dirt, and other debris can clog the funnel or the measuring tube. This can affect how much rain is collected or how accurately it’s measured. We recommend cleaning your gauge at least once a month, or more often if you notice it getting dirty.
Use a soft brush and plain water. Avoid using harsh chemicals, as they could damage the plastic or affect future readings. If you have a tipping bucket gauge, make sure the buckets and the tipping mechanism are clear of obstructions. A clean gauge gives you trustworthy numbers.
Checking for Damage
Insects can sometimes build nests inside, or small animals might knock it over. Periodically inspect your gauge for any cracks, damage, or blockages. Ensure it’s still securely mounted and level. If you find any damage, it might be time to replace it to ensure accurate rainfall data.
Quick Checklist for Your Rain Gauge
- Place your gauge in an open, level area.
- Ensure it’s away from trees and buildings.
- Check that the gauge is standing perfectly upright.
- Clean the funnel and tube regularly with water.
- Inspect for any debris or damage.
- Record your readings after each rainfall event.
Conclusion
You’ve learned how a rain gauge works by collecting and measuring precipitation. Remember, accurate readings start with the right placement in an open, level spot. Whether you have a simple measuring tube or a tipping bucket gauge, understanding its basic function helps you get reliable data. This knowledge is a great step for better gardening, informed weather tracking, or simply satisfying your curiosity about local rainfall. Keep your gauge clean and check it regularly to ensure it provides the most trustworthy numbers for your needs. Now, you’re ready to start recording your own rainfall!
Frequently Asked Questions
Do I need a fancy rain gauge to get useful information?
No, a simple measuring tube rain gauge is perfectly adequate for most home users. We found that even basic gauges, when placed correctly, provide accurate enough data for gardening and personal interest. The most important thing is a clear, unobstructed collection area.
What’s the best way to measure rainfall if my gauge gets too much rain?
If you experience very heavy rainfall that might overflow a standard gauge, you can use a larger collection area or an overflow adapter. Alternatively, you can empty a tipping bucket gauge more frequently. This ensures you capture all the precipitation that falls.
Can sunlight damage my rain gauge or affect readings?
While sunlight itself doesn’t usually affect the measurement, prolonged exposure can degrade plastic gauges over time. It’s more important that sunlight doesn’t create shadows that block rain. We recommend a location that gets direct rain, but extreme heat could potentially cause minor evaporation in very dry periods.
How often should I empty and record readings from my rain gauge?
It’s best to record readings after each rain event, or at least once a day if rain is frequent. Emptying the gauge after each recording prevents overflow and ensures the next measurement is accurate. For tipping bucket gauges, check the total accumulation periodically.
My rain gauge is near a tree, but it’s the only open spot. Is this okay?
Placing your gauge too close to a tree can lead to inaccurate readings because the tree can block some of the rain. We suggest placing it at least as far from the tree as the tree is tall. If that’s impossible, be aware that your readings might be lower than the actual rainfall due to drip and blockage.