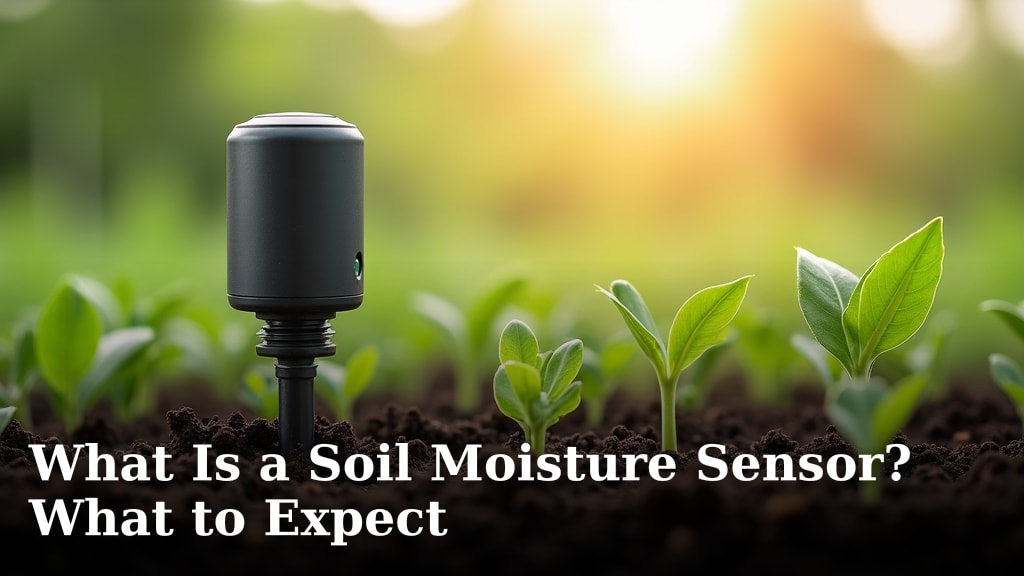
What Is a Soil Moisture Sensor? What to Expect
A soil moisture sensor is a handy tool that measures how much water is in your soil. It tells you if your plants are thirsty or if they have too much to drink. Getting the right amount of water is key for healthy growth, and these sensors help you do just that. They are often used in gardening and farming.
Think of it like a personal weather station for your plants. It helps take the guesswork out of watering. You can avoid both underwatering and overwatering, which are common problems. Many types are available, from simple probes to more advanced systems. These devices make plant care much easier and more effective.
- A soil moisture sensor checks water levels in the soil.
- It helps prevent over or under-watering your plants.
- They come in various types for different needs.
- Using one can lead to healthier, happier plants.
- It simplifies the watering process significantly.
Let’s walk through what a soil moisture sensor is and what you can expect when using one.
Understanding Your Soil Moisture Sensor
So, what exactly is a soil moisture sensor? Simply put, it’s a device designed to tell you how much water is present in your soil. Think of it as a translator between your soil and you. It helps you understand your soil’s hydration levels. This way, you can give your plants exactly what they need. No more guessing games!
These sensors are incredibly useful for anyone who cares for plants. Whether you’re a seasoned gardener or just starting out, they can make a big difference. They help you avoid two common plant killers: overwatering and underwatering. Getting this balance right is key for healthy plant growth.
How Does a Soil Moisture Sensor Work?
The way these sensors work often comes down to electricity. Soil conducts electricity, but the amount of water in the soil changes how well it does this. Moisture sensors measure this change.
Basic Electrical Principles
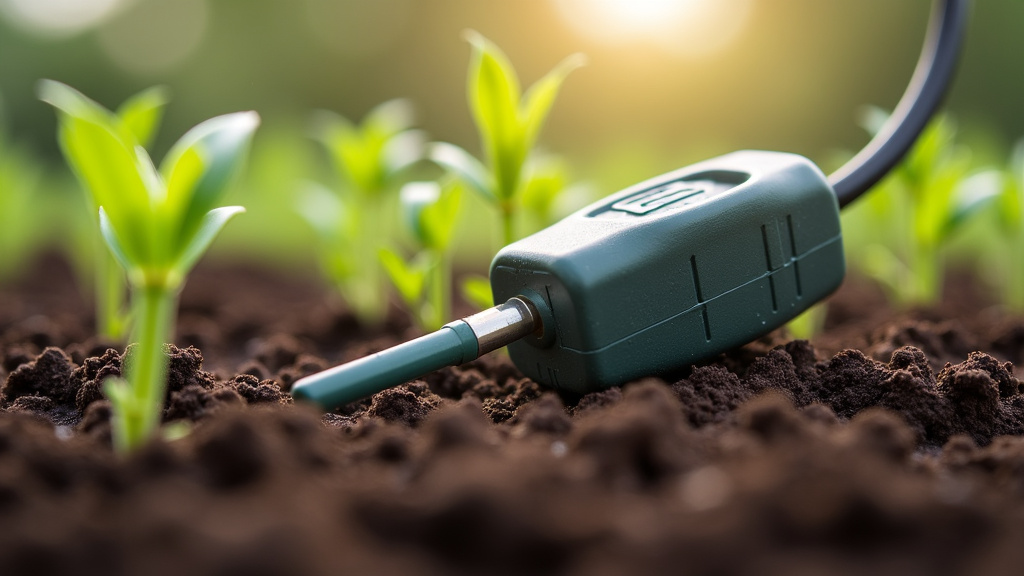
Most common sensors use two metal probes. You stick these probes into the soil. The sensor then sends a small electrical current through the soil between the probes. It measures the resistance to that current. More water in the soil means less resistance, and the sensor registers a higher moisture reading. Less water means more resistance, and a lower reading.
Types of Technology Used
There are a few main ways sensors measure this electrical property:
- Resistive sensors: These are the most common and often the most affordable. They work by measuring the electrical resistance between two probes. As mentioned, more water equals less resistance. The downside is that the probes can sometimes corrode over time, affecting accuracy.
- Capacitive sensors: These work a bit differently. Instead of directly measuring resistance, they measure the capacitance of the soil. The soil acts as the dielectric material between two conductive plates. Water content changes the dielectric constant, which affects the capacitance. These tend to be more durable and accurate than resistive sensors because the electronics are not directly exposed to the soil.
- Dielectric sensors (TDR/FDR): These are generally more advanced and precise. They send an electromagnetic wave through the soil and measure how quickly it bounces back. The speed of this wave is affected by the soil’s water content. These are often used in professional agriculture but are becoming more accessible.
For most home gardeners, resistive or capacitive sensors will do a great job. They offer a good balance of ease of use and reliable readings.
What to Expect When Using Your Sensor
Once you have a soil moisture sensor, using it is usually quite straightforward. However, understanding what the readings mean is important.
Reading the Moisture Levels
Sensors typically show you the moisture level in one of a few ways:
- Analog Dial: Many basic sensors have a dial with markings like “Dry,” “Moist,” and “Wet.” You just turn the dial until it matches the reading on the sensor. It’s a simple, visual indicator.
- Digital Display: More advanced models might have a small LCD screen that shows a number or percentage. This gives you a more precise reading.
- Indicator Lights: Some sensors use simple LED lights. Green might mean plenty of water, yellow for caution, and red for dry.
It’s important to remember that “wet” is not always “good.” Too much water can be just as harmful as too little. You’re looking for that perfect sweet spot where the soil is consistently hydrated but not waterlogged. Your sensor helps you find that balance.
Interpreting the Results
What do those readings actually mean for your plants? It depends on the plant.
Different plants have different water needs. A cactus, for instance, prefers its soil to dry out significantly between waterings. A fern, on the other hand, likes consistently moist soil. So, you’ll need to do a little research on your specific plants.
We found that a good rule of thumb is to check the sensor’s reading before watering. If your sensor indicates dry soil for a plant that likes it consistently moist, it’s time to water. If it shows moist soil for a plant that likes to dry out, you can probably skip watering for a day or two.
Where to Place Your Sensor
Where you insert your sensor matters. For accurate readings, place it in the root zone of your plant. This is typically the top 6-8 inches of soil. Avoid placing it right at the edge of the pot or plant base. Instead, try to position it in the middle of the root ball.
If you’re using a portable sensor, you might want to check moisture in a few different spots in a larger garden bed. This can give you a better overall picture of soil hydration across a wider area.
Tips for Accurate Readings
To get the most out of your soil moisture sensor, follow these tips. They help ensure you’re getting reliable information.
Consistent Placement
Try to place the sensor in the same general area for each reading. This helps you track changes over time. If you move it around too much, you might see readings that are just due to location, not actual moisture changes.
Cleaning Your Sensor
This is more important for resistive sensors. The metal probes can get coated with soil particles or minerals. This coating can affect conductivity. After each use, gently wipe the probes clean with a damp cloth. For stubborn residue, a soft brush can help. Make sure to dry them thoroughly before storing.
Understanding Soil Types
The type of soil you have can influence readings. Sandy soils drain very quickly, so they might appear dry sooner. Clay soils hold water longer, so they may show a moist reading for a longer period. Your sensor helps you understand these differences in your specific soil.
Calibrating Your Sensor (If Possible)
Some more advanced sensors might offer a calibration feature. This allows you to reset the sensor to account for your specific soil type or probe wear. If your sensor has this option, consult its manual. Calibration helps maintain accuracy over the long term.
Common Issues and Troubleshooting
Even the best tools can sometimes act up. Here are a few things you might encounter and how to fix them.
Inconsistent Readings
If you’re getting wildly different readings in the same spot, check a few things. Is the sensor firmly in the soil? Are the probes clean? Is there a lot of dense root material in one spot? If it’s a resistive sensor, the probes might be corroding, and it might be time for a replacement.
Sensor Not Responding
For battery-powered digital sensors, the first thing to check is the battery. A dead battery will stop the sensor from working. If it’s not a battery issue, ensure the probes are making good contact with the soil. If the soil is extremely dry and hard, it might be difficult for the probes to get a good connection.
Readings Seem “Off”
If your sensor consistently says the soil is dry when you can clearly feel it’s wet, or vice-versa, there might be a calibration issue or corrosion. For simple analog sensors, it might just be that the sensor has reached the end of its lifespan. They aren’t meant to last forever, especially the more affordable types.
Making the Most of Your Sensor: A Checklist
Ready to put your sensor to work? Here’s a quick rundown to ensure you’re on the right track:
- Know your plants: Understand each plant’s preferred moisture level.
- Place it right: Insert the sensor into the root zone.
- Clean your sensor: Wipe probes after each use, especially resistive types.
- Check regularly: Use your sensor before watering to inform your decision.
- Observe your plants: Sensor readings are a guide, but also watch your plants for visual cues.
- Adjust as needed: Readings might change with seasons or plant growth.
Conclusion
You’ve learned that a soil moisture sensor is your plant’s best friend. It helps you move past guesswork and truly understand your soil’s hydration needs. By taking accurate readings and knowing your plants’ preferences, you can prevent common watering mistakes. This simple tool can lead to healthier growth and happier plants in your garden or home. Start by checking your sensor’s readings before you water. This small habit can make a big difference in your plant care routine.
Frequently Asked Questions
How often should I check my soil moisture with a sensor?
We recommend checking your soil moisture before watering. For most houseplants, this might be once a week. For outdoor gardens, you might check more frequently, especially during hot or dry periods. It’s a good habit to get into for all your plants.
Can a soil moisture sensor work in different types of soil?
Yes, soil moisture sensors can work in various soil types. However, they may read differently in sandy versus clay soils. Sandy soils drain faster, while clay soils hold moisture longer. Your sensor helps you understand these differences in your specific garden.
Do I need to calibrate my soil moisture sensor?
Calibration is important for more advanced sensors, especially dielectric types. For simpler resistive or capacitive sensors, regular cleaning and consistent placement are usually enough. If your sensor has a calibration option, consult its manual for instructions.
What does it mean if my sensor shows “wet” all the time?
If your sensor consistently reads “wet,” even when you think the soil should be drier, it might indicate a few things. Your soil could be compact, preventing proper drainage. Or, the sensor itself might need cleaning or is starting to corrode if it’s a resistive type.
Are more expensive soil moisture sensors worth the cost?
For most home gardeners, affordable resistive or capacitive sensors offer great value. If you have a large operation or need very precise readings for specific crops, a more advanced dielectric sensor might be worth the investment. Consider your needs and budget.